
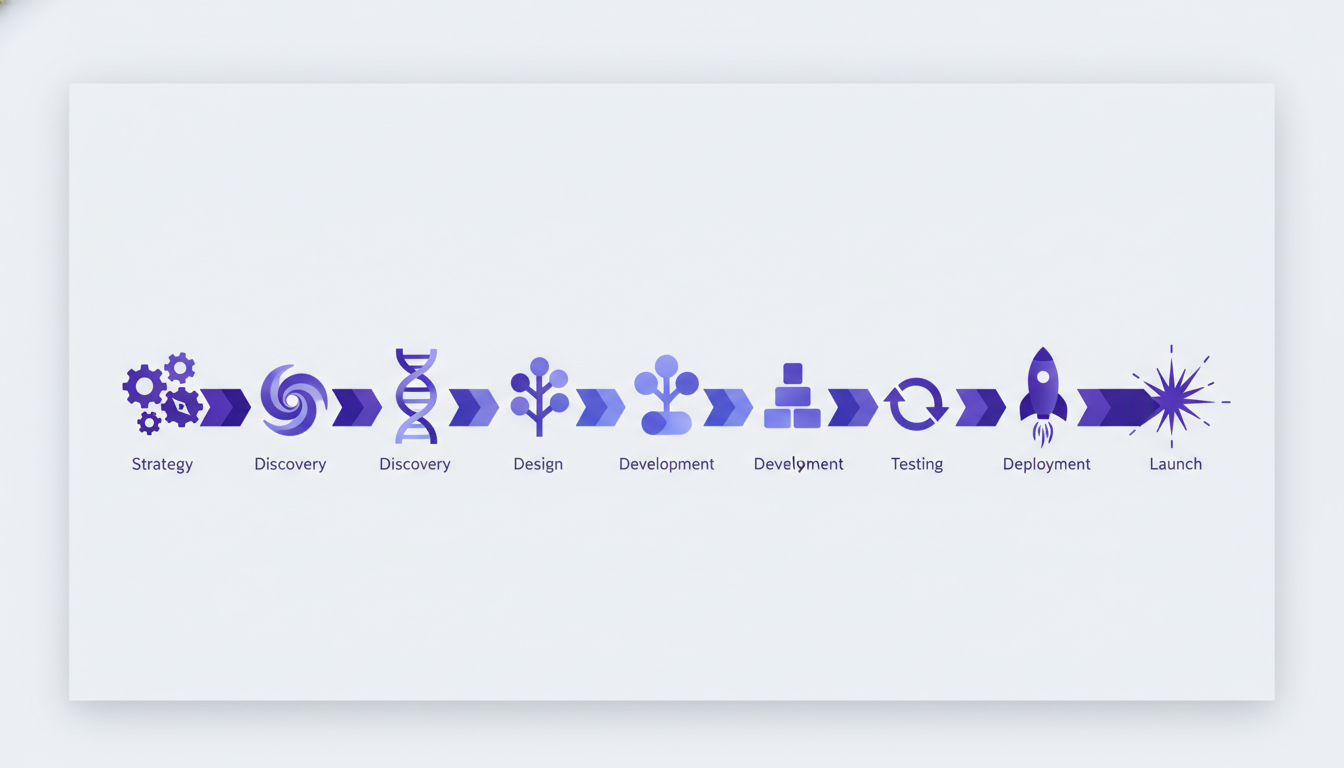
Seventy-two percent of users expect an intuitive, guided experience when adopting new software. But rolling out an effective product tour can feel like a multi-week project, tying up engineering resources and delaying impact. I’m here to tell you it doesn’t need to be. We’ve honed a strategy that aims to streamline the deployment of a meaningful DoBeacon product tour, and I'm going to walk you through it.
This isn't about rushing; it’s about focus. It’s about being precise with your goals, surgical with your content, and agile in your execution. You can make a measurable impact on user onboarding, feature adoption, or support deflection in less than a business week.
Let’s dive into the day-by-day plan.
Day 1: Define Your Mission
Before you touch a single line of code or open the DoBeacon builder, you need clarity. What problem are you solving? Is it that new users drop off after signup? Are existing users missing a critical new feature? Or maybe your support team is swamped with questions about a specific workflow?
I always start with a single, measurable objective. Something like: "Increase activation rate by 10% for new signups" or "Drive 15% more users to try the new analytics dashboard." Define your target audience for this specific tour – is it new users, users who haven't used a particular feature, or perhaps a specific user role like an 'Admin'? Knowing who you're building for and why will dictate everything else. This foundational step is arguably the most important, and skipping it is why most product tours fail.
Deliverable: A one-page document outlining your primary goal, target audience, and key success metric.
Day 2: Map the User Journey
Now that you know what you’re trying to achieve, let's look at how users will get there. Open your application and manually walk through the exact steps you expect your target user to take to achieve that Day 1 goal. Where do they click? What screens do they see? Where do they hesitate? Which parts of the UI are confusing?
I find it incredibly helpful to screenshot each step and literally draw arrows, highlighting potential stumbling blocks. This isn't a wireframe for a new feature; it’s an audit of your existing flow. Pinpoint the specific moments where a well-placed guide, tooltip, or prompt from DoBeacon could provide clarity or nudge them forward. You're looking for the high-impact interventions, not every single possible explanation.
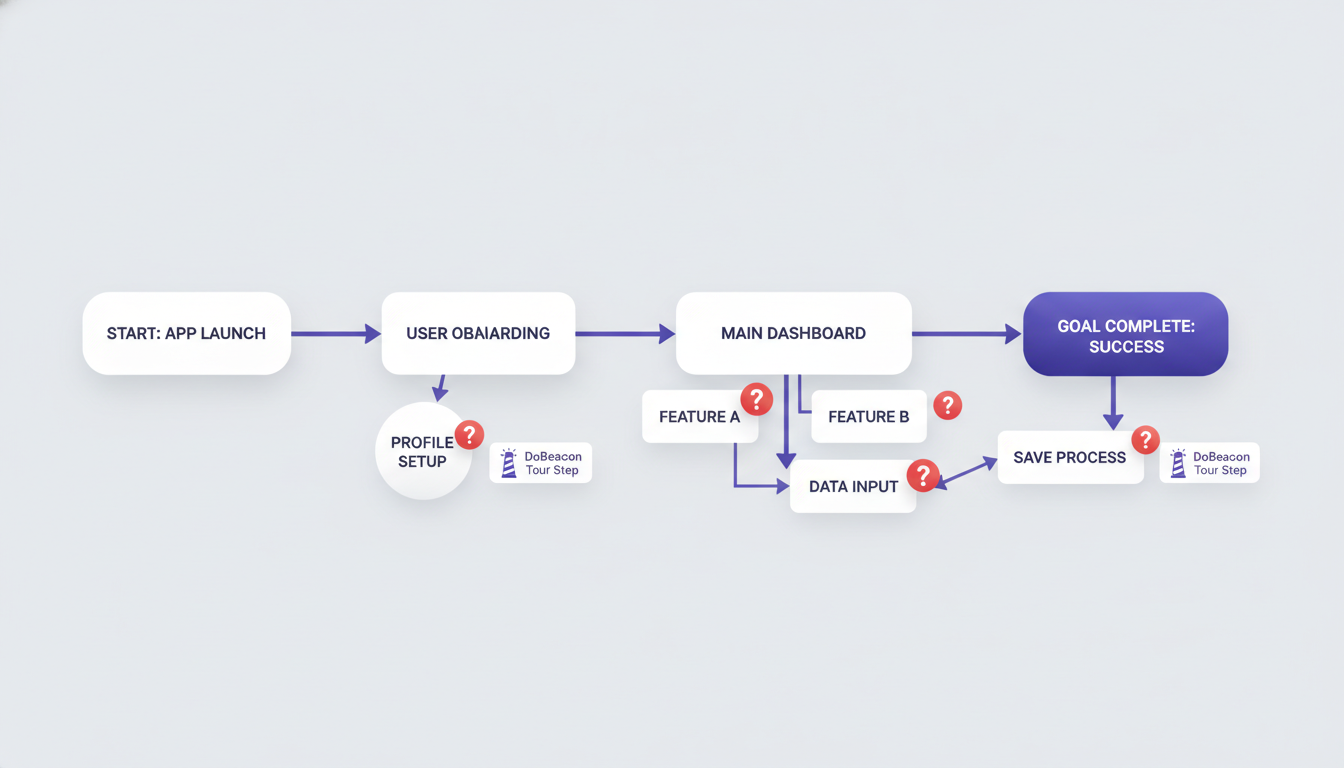
Deliverable: A visual map (even a napkin sketch works) of the user journey, identifying 3-5 key intervention points.
Day 3: Script Your Tour Content
With your journey mapped, it's time to write. Remember, users are in your product to do something, not to read a novel. Your tour content needs to be incredibly concise, action-oriented, and directly relevant to the step they're on. Think like a good project manager giving clear, direct instructions: "Click X to do Y." "Enter Z here."
For each intervention point identified yesterday, draft 1-2 sentences. Use clear, simple language. Avoid jargon. And here's my mildly opinionated take: Don't over-explain everything. Let the user discover some things. Your job is to unblock them from a specific task, not give them a full product demo. If a tour step takes more than 10 seconds to read, you've written too much.
Deliverable: Drafted text for each step of your product tour.
Day 4: Build in DoBeacon
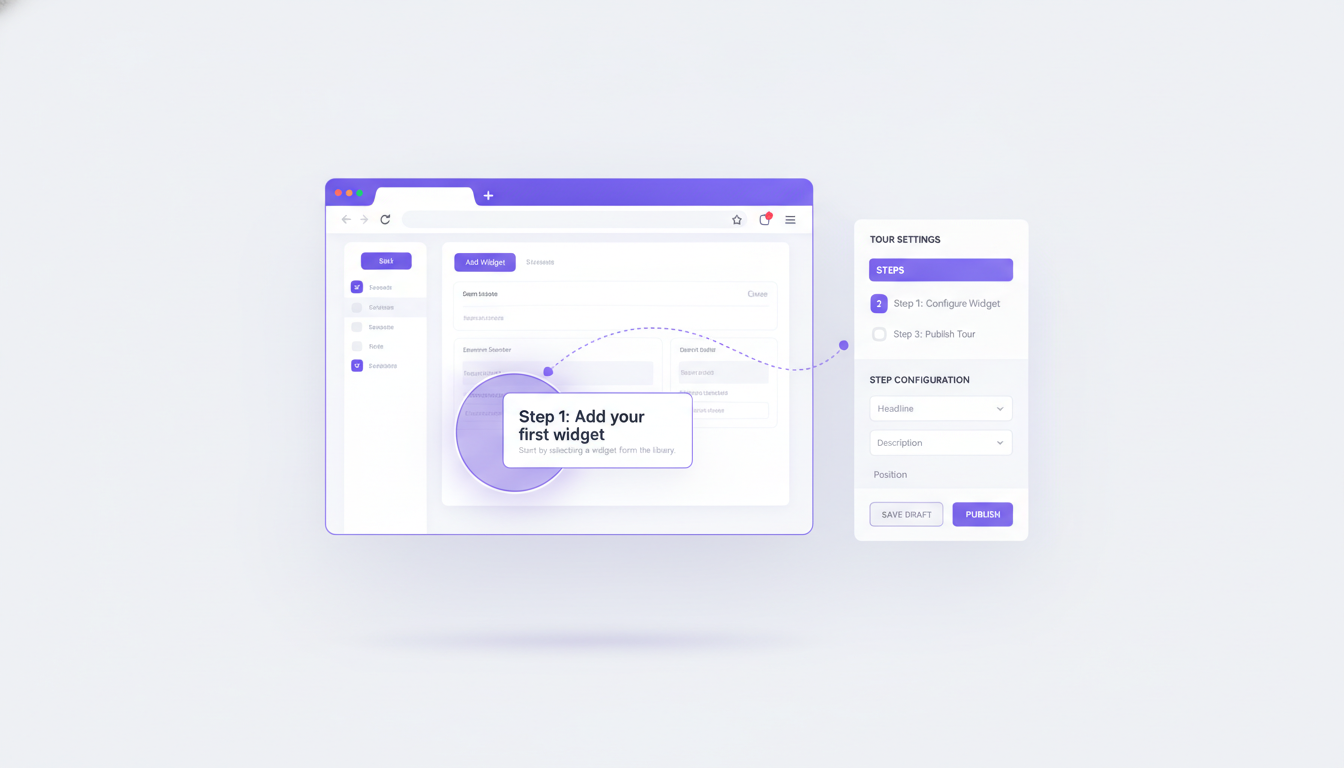
This is where the magic happens. Fire up your DoBeacon Chrome Extension. You'll use the intuitive builder to start placing your tour steps directly onto your application's UI. It's surprisingly fast once you have your content ready.
Pay close attention to element selection – DoBeacon intelligently picks elements, but sometimes you need to get precise. I always use CSS selectors for critical steps to ensure robustness, especially if UI elements are dynamic. Configure the triggers: When should this tour start? For new users logging in for the first time? Or after they complete a specific action? Configure your tour's trigger URLs to ensure it appears on the correct pages for your audience. Don't forget exit conditions or 'skip' options; you want to guide, not trap, your users.
Deliverable: A fully built (but not yet published) DoBeacon product tour within the builder.
Day 5: Internal Review & QA
Share your tour internally. Get a couple of fresh sets of eyes on it – ideally, someone from your support team, a product manager, and maybe even a non-technical colleague. They'll spot things you missed because you're too close to it. Ask them specific questions: Is it clear? Does it flow logically? Did you get stuck anywhere? Test it on different screen sizes and browsers (Chrome 90+, Firefox 88+, Safari 14+, Edge 90+) to ensure a consistent experience.
I once spent an hour debugging a tour step that relied on an element visible only on ultrawide monitors. Lesson learned: test broadly! This is your chance to catch typos, awkward phrasing, or steps that point to the wrong element.
Deliverable: A refined DoBeacon tour, incorporating internal feedback and thoroughly tested.
Day 6: Prep for Launch
How will you measure success? Make sure your analytics are ready. If your goal was "increase activation rate by 10%," ensure you have a baseline and a way to track the new activation metric.
Consider your launch strategy. A full rollout on day one might be fine for a simple tour, but for something more complex, I often prefer a staged rollout or A/B test. This means deploying the tour to a small percentage of your target audience first, or running it against a control group to measure its true impact. Make sure your team knows the tour is going live and who to contact if they encounter issues.
Deliverable: Analytics tracking configured and a clear launch plan (full rollout or staged).
Day 7: Launch & Monitor
It’s launch day! Publish your DoBeacon tour and watch it go live. Now the real work begins: monitoring. Keep a close eye on your key success metrics. Are you seeing the improvements you targeted on Day 1? Check your analytics dashboard for tour completion rates, drop-off points, and user engagement.
Product tours are never truly "done." They're living tools. Be prepared to iterate. If you see users dropping off at a particular step, tweak the text, adjust the element, or add another guiding prompt. This agile approach means you're constantly improving the user experience based on real data, ensuring your DoBeacon tour delivers ongoing value.
That’s it. Seven days. From a blank slate to a live, impactful DoBeacon product tour. You've just streamlined your user journey and unlocked a better product experience for your users.
Ready to build your own?
Build your first tour for free at https://dobeacon.com/signup