
Your Shopify app just launched, and it's brilliant. It tackles a niche problem, saves merchants hours, and you’ve poured your soul into it. But here’s the rub: even the most intuitive tools have a learning curve. Your users need to discover that magic, and often, they won't dig deep enough on their own.
That's where interactive product tours come in. They’re not just glorified tooltips; they’re guided experiences designed to showcase value, explain complex features, and drive early adoption. And when you’re building on a platform like Shopify, with its specific embedded app environment, a dedicated tool for this is a lifesaver.
I’ve spent a fair bit of time wiring these up, and honestly, trying to roll your own tour solution is a rabbit hole I wouldn't wish on my worst enemy. DoBeacon exists precisely to abstract away the pain of element targeting, state management, and all the fiddly bits of tour creation. Let's get your first product tour running in your Shopify app.
Prerequisites: What You'll Need
Before we dive into the code and configuration, make sure you have a few things lined up:
- A Shopify App: You'll need an existing Shopify app, ideally one with a few core features you want to highlight in your tour. This guide assumes you have basic control over its codebase.
- A DoBeacon Account: If you don't have one, you can sign up for free at https://dobeacon.com/signup. You'll need access to the DoBeacon dashboard to create projects and manage tours.
- DoBeacon Chrome Extension: This is your secret weapon for building tours. Install it from the Chrome Web Store. It allows you to select elements directly on your app's UI.
Step 1: Setting Up Your DoBeacon Project
First things first, we need a home for your tour within DoBeacon. Head over to your DoBeacon dashboard. You'll want to create a new project.
When prompted, give your project a descriptive name, something like "My Shopify App Tours". A DoBeacon project maps to one website or application. For Shopify apps, your tours will target the URLs of your app when embedded within the Shopify admin, something like https://[your-app-domain].com/shopify/app or https://admin.shopify.com/store/[store-name]/apps/[app-id]. When defining your tour's starting URL, you might find it helpful to match the root URL of your app within the Shopify admin interface.
Step 2: Integrating the DoBeacon JavaScript SDK
This is the core technical step: embedding the DoBeacon SDK into your Shopify app. The SDK is tiny and asynchronous, meaning it won't block your app's loading, which is a big win for performance.
You'll find your unique SDK snippet in your DoBeacon project settings under "Installation". It'll look something like this:
<script
  src="https://dobeacon.com/v2/dobeacon.min.js"
  data-project-key="YOUR_PROJECT_KEY"
  async
></script>
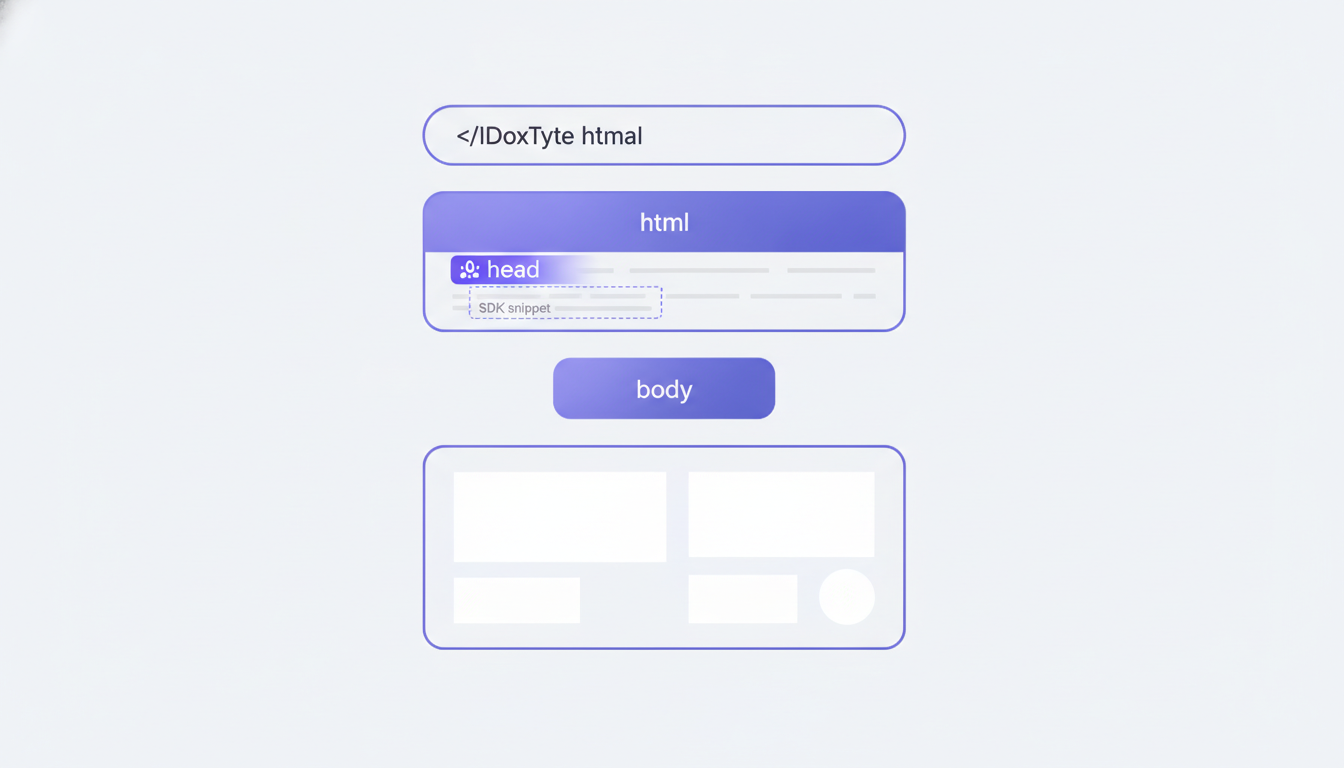
You need to place this snippet within your Shopify app's main layout file or an entry point that's consistently loaded across all pages where you want DoBeacon to operate. For many modern React or Vue Shopify apps, this might be in your index.html file (inside the <head> or <body> tags) or mounted as a global component in your App.js or main.js equivalent.
Web applications, especially those embedded within another platform like Shopify, often operate within an iframe. While working within iframes can sometimes pose challenges for web tools, DoBeacon is designed to provide guided tours for any website. The DoBeacon Chrome Extension allows you to build and play tours on third-party tools without access to their source code, and when the SDK is embedded in your own app, it works within its context.
Once you've added the snippet, deploy your Shopify app. You won't see anything immediately, but DoBeacon is now ready to listen.
Step 3: Building Your First Tour Step with the Chrome Extension
Now for the fun part: creating your actual tour. Open your Shopify app within the Shopify admin in a Chrome browser.
-
Activate DoBeacon: Click the DoBeacon Chrome Extension icon in your browser toolbar. This will open a popup. To build or play a tour, you will then interact with the extension from this popup.
-
Create a New Tour: In the extension popup, click "Build tour". Give it a clear name, like "Getting Started Guide" or "First Feature Walkthrough".
-
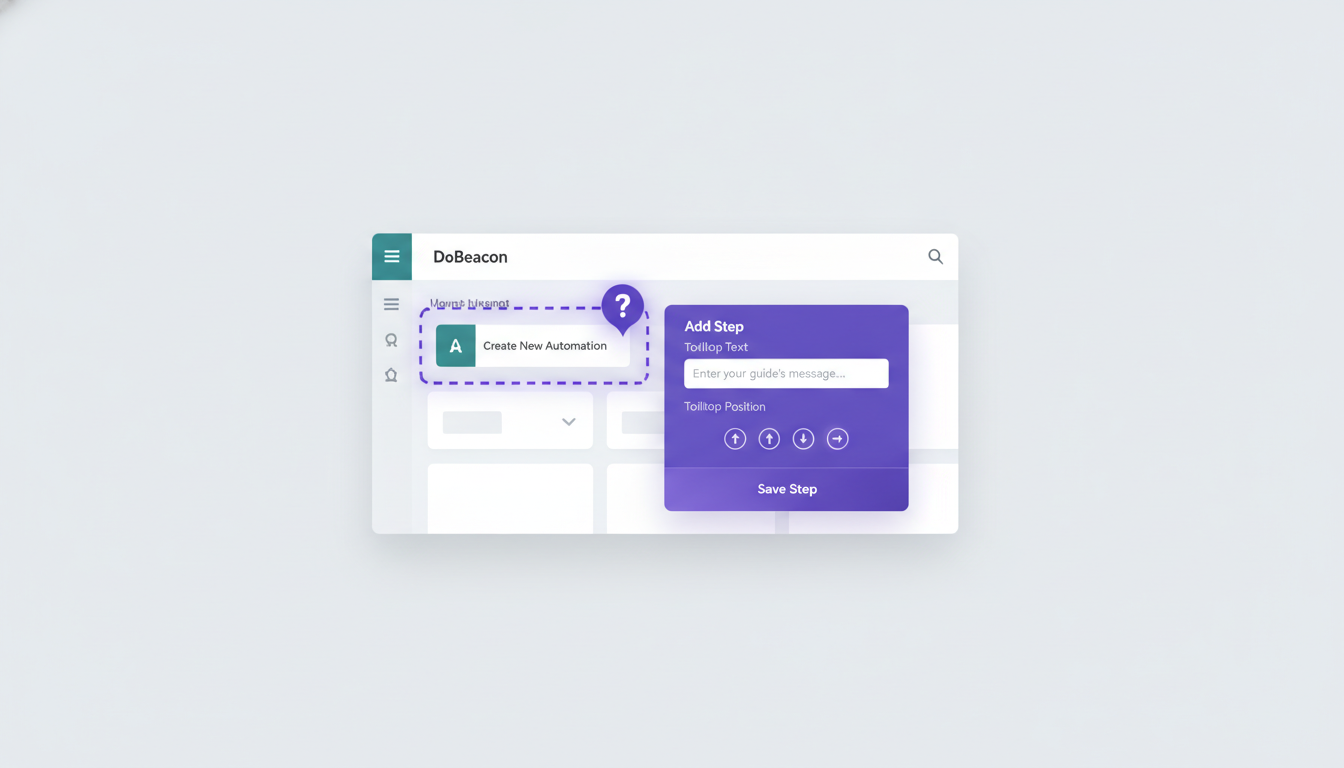
Add Your First Step: Now, click "Add Step". The extension will go into 'selection mode'. Hover your mouse over an element in your Shopify app – say, the main "Dashboard" button or a prominent "Create New" button. DoBeacon will highlight the element it's about to select. Click to select it.
This is where I often see people get tripped up: always try to select elements with unique and stable IDs. If an element doesn't have a specific
idattribute, DoBeacon will generate a more complex selector. While this usually works, dynamic class names or deeply nested selectors can break if your UI changes. If you have control over your app's code, adding adata-dobeacon-id="unique-name"attribute to important elements is a personal preference of mine; it makes tour building incredibly robust. -
Configure the Step: The step form expands in the drawer on the right. Here you can add the content for this tour step. Write a concise title (e.g., "Welcome to Your Dashboard!") and a descriptive body (e.g., "This is where you'll see an overview of your [app's core function].").
-
Repeat for More Steps: Continue adding steps, guiding the user through your app's key workflows. Think about the most critical path a new user needs to take to experience a "win" with your app. Don't try to explain everything in a single tour; focus on one core task.
-
Save Your Tour: Once you've added a few steps, click "Save tour" in the extension. This pushes your tour definition to the DoBeacon cloud as a draft.
Step 4: Publishing and Testing
Your tour is saved as a draft, but not yet live for your users. Head back to your DoBeacon dashboard. Under your project, you'll see your newly created tour listed.
- Review and Configure: Click on your tour. Here, you can re-order steps, refine content, and configure advanced settings like trigger rules (e.g., auto-play on page load or 'on call').
- Publish: To make the tour available to end users, click "Publish" (or "Publish changes" if it's an update to an already published tour).
- Test: To test your draft tour before publishing, use preview mode. Find your project's preview key on the Install page and append it as a query parameter to your app's URL:
https://yoursite.com/page?dobeaconpreview=pk_preview_…. This will allow you to see your draft tours on your live site for the duration of your browser session.
If a published tour doesn't appear, check a few things:
- Is the SDK snippet correctly installed and deployed?
- Is the tour published in the DoBeacon dashboard?
- Does your tour's starting URL match the page you're on?
Interactive tours are powerful. They don't just show users around; they teach them how to use your app to solve their problems, which is, after all, why they installed it. DoBeacon makes building these experiences straightforward, letting you focus on your app's core value.
Ready to elevate your Shopify app's onboarding? Build your first tour for free at https://dobeacon.com/signup