
Conversion rates on e-commerce sites can be frustratingly low – often hovering between 1-3%. While Shopify provides a fantastic platform to set up your store, it doesn't inherently give you the tools to guide customers through complex product options, highlight unique selling points, or onboard them to specific features right on the product page. That's where I've found interactive product tours invaluable.
Imagine you're selling a highly configurable product like a custom gaming PC or a made-to-order piece of furniture. A customer lands on your page, sees dozens of dropdowns and options, and gets overwhelmed. They might leave, even if your product is perfect for them. A simple, well-placed product tour can be the difference between a bounce and a buy.
Why Product Tours Matter for Shopify Stores
For a long time, product tours were seen as a SaaS-only feature, great for onboarding users to complex software interfaces. But I've consistently seen their power in e-commerce. They aren't just for software; they're for any interface where a user needs guidance to understand value or complete a task. On Shopify, this means:
- Reducing confusion: Guide users through variant selectors, customization options, or complex bundling deals.
- Highlighting unique features: Draw attention to ethical sourcing, sustainable materials, or a groundbreaking technology your product uses.
- Boosting conversion: A guided journey feels less intimidating, helping users confidently click "Add to Cart."
- Decreasing support tickets: Answer common questions proactively, before customers even think to ask.
- Showcasing new arrivals: Introduce a new product line with a quick tour of its key benefits.
The Shopify Challenge (and DoBeacon's Solution)
Shopify's strength is its simplicity and extensibility through apps. However, building custom, interactive overlays that highlight specific elements on your live store and respond to user actions isn't something its native tools handle. You can't just point to your "size guide" link and add an explanation bubble to it for first-time visitors.
This is precisely where DoBeacon shines. It allows you to create these interactive overlays – guided tours, feature highlights, tooltips – directly on your existing Shopify store, without writing a single line of code or modifying your theme files. It's a layer over your site, which means you're not messing with your core infrastructure. It's safe, and frankly, a lot faster than trying to custom-code something. Plus, I don't know many Shopify store owners who are also keen frontend developers.
Integrating DoBeacon with Your Shopify Store: A Hands-On Guide
Getting DoBeacon up and running on your Shopify store is straightforward. Here's how I typically approach it:
Step 1: Install the DoBeacon Chrome Extension
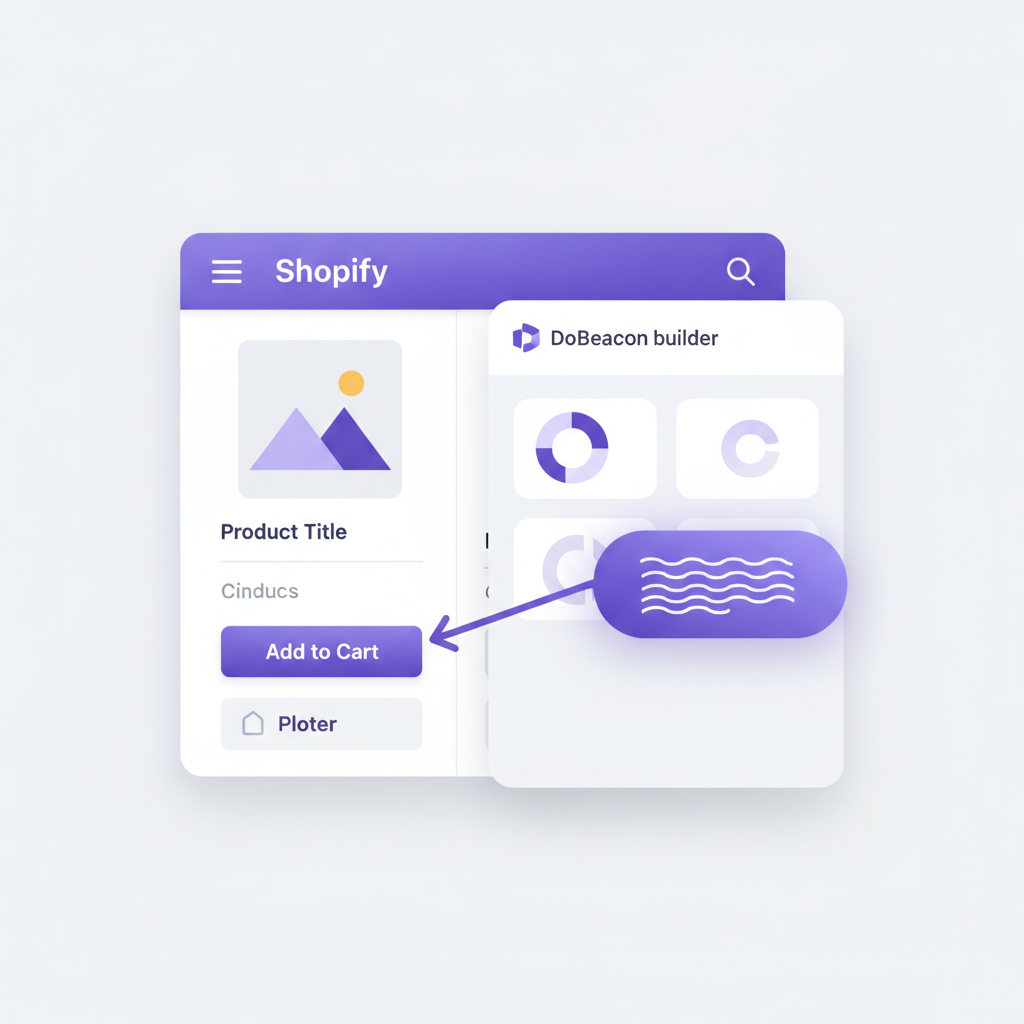
This is your primary tool for building tours. Install the DoBeacon Chrome Extension, then navigate to your Shopify store in your browser. The extension activates, allowing you to enter the builder mode directly on your live site.
Step 2: Choose Your Target Page and Start Building
Go to the specific product page, collection page, or even the checkout process where you want to add your tour. Click the DoBeacon extension icon, and you'll see a 'Build tour' option. This takes you into the visual editor.
Step 3: Identify Key Elements for Your Tour Steps
This is where the magic happens. Think like your customer. What's confusing? What needs to be emphasized? For a product page, these could be:
- Variant selectors: Explaining the difference between "Matte Black" and "Gloss White."
- Size charts: "Click here for our detailed size guide to find your perfect fit!"
- "Add to Cart" button: Sometimes you just need to ensure people see it after a tour explaining features.
- Upsell offers: Guiding users to a related product or a warranty option.
- Trust signals: Highlighting customer reviews or a "money-back guarantee" badge.
In the DoBeacon builder, you simply click on any element on your page – a button, a text block, an image – and add a step to your tour. You can then write your message, choose its position, and set it to advance automatically or require a click.
Step 4: Craft Your Messages and Actions
Each step isn't just a bubble; it's an opportunity. You can:
- Explain: "This material is 100% recycled and ethically sourced."
- Instruct: "Select your size here, then choose a color."
- Reinforce: "Don't forget to check out our extended warranty options before checkout."
- Lead: Link to another page.
One small, opinionated piece of advice: The biggest mistake I've seen with product tours is making them too long. Your goal isn't to create a full manual. It's to address one specific pain point or highlight one key benefit concisely. Three to five powerful steps are often more effective than ten exhaustive ones.
Step 5: Define Your Audience and Publishing Conditions
Once you've built your tour, you need to tell DoBeacon when and for whom it should appear. DoBeacon's built-in auto-triggers are based on URL matching. You can target tours to:
- Specific URLs: Only on
/products/my-new-widget(usingcontains,exact, orregexmatch types). - User segments: First-time visitors, returning customers, or users from specific geographic locations (by identifying users via
DoBeacon.identify()and using your own logic to callDoBeacon.startTour(id)). - Programmatic triggers: You can also integrate with your site's events (like adding an item to their cart or visiting multiple pages) to start tours using the DoBeacon SDK, if needed.
This granularity is powerful. You don't want to show the same tour to someone who's already bought from you five times as you would to a brand-new visitor.
Example: Onboarding to a Customizable Product Page
Let's say I'm running a Shopify store selling custom-engraved watches. A new customer might not immediately grasp all the customization options.
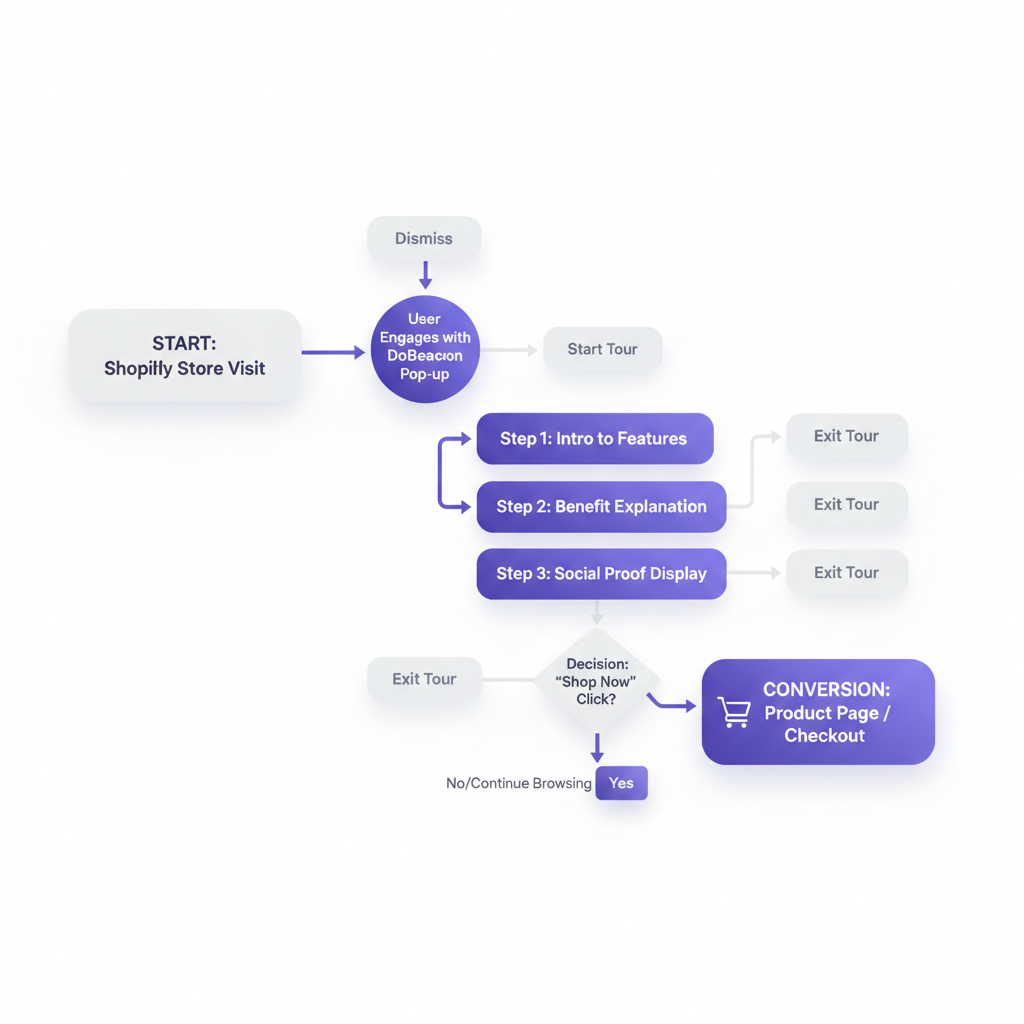
- Step 1 (Welcome): "Welcome! Let's personalize your timepiece." (Points to the product image, appearing on first visit to any watch product page).
- Step 2 (Engraving options): "Click here to choose your font and enter your custom message." (Points to the 'Engraving Options' section).
- Step 3 (Preview): "See your design come to life with our live preview!" (Points to a dynamic preview image).
- Step 4 (Add to Cart): "Happy with your design? Add it to your cart!" (Points to the 'Add to Cart' button).
This simple tour breaks down the complexity, ensures the customer sees the most valuable feature (customization), and nudges them towards purchase. It's direct, actionable, and doesn't assume prior knowledge.
Go Build Your First Shopify Product Tour
Integrating DoBeacon into your Shopify workflow gives you a powerful tool to engage customers, clarify product features, and ultimately drive sales. It's a small investment that can yield significant returns by making your store more intuitive and user-friendly.
Ready to elevate your Shopify store's user experience? Build your first tour for free at https://dobeacon.com/signup