
NetSuite is powerful, but let's be honest: its sheer breadth can be daunting, especially for a new employee. Imagine handing a new hire access to NetSuite on day one and expecting them to find the right form to request PTO, submit an expense report, or even just update their personal contact information. It's like dropping them into a foreign city without a map, and then wondering why they're asking for directions every five minutes.
I've seen it firsthand: the email with a long PDF attachment detailing steps, the screen-sharing sessions, the multiple Slack messages from confused new hires. It eats up countless hours from HR, finance, and IT teams. That's why I'm a firm believer that the best training happens in-app, precisely when and where a user needs it. Manual training often feels like a memory test, not a learning experience.
This is where DoBeacon shines. It allows you to build interactive, step-by-step product tours directly within your existing web applications, like NetSuite, without writing a single line of code. We’re talking about overlaying guidance exactly where your employees need to click, type, or understand. It's like having a friendly co-worker sitting next to them, pointing the way.
Why In-App Guidance for NetSuite Onboarding?
Think about the typical NetSuite onboarding experience for a new employee. They're probably overwhelmed with new company policies, benefits information, and a mountain of other tools to learn. Adding a complex ERP system like NetSuite to that mix can easily lead to frustration and decreased productivity.
By guiding new hires through essential NetSuite tasks, you're not just showing them what to do, but how to do it in the flow of their actual work. This approach dramatically reduces support tickets, accelerates time to productivity, and frankly, makes the whole onboarding process feel a lot less like homework. Plus, if you're like me, you probably don't have a dedicated L&D team that can build and maintain complex custom training modules within NetSuite itself – that's a whole different beast.
The DoBeacon Advantage: No Code, Real Impact
DoBeacon works by layering directly on top of your existing web applications. You install a Chrome Extension, point and click to define steps, add helpful text, and then publish. That's it. Your employees get a seamless, guided experience without ever leaving NetSuite. It's elegant in its simplicity.
Blueprint: Building Your First NetSuite Onboarding Tour
Let’s walk through building a practical tour. We’ll focus on a common, high-value task for new hires: submitting a time-off request in NetSuite. This process involves navigating a few menus and filling out a form, making it a perfect candidate for a guided tour.
Step 1: Identify the Critical Path and Prepare Your Environment
Before you even open DoBeacon, open NetSuite as a new employee would. Log in. Now, manually go through the process of submitting a time-off request. What are the exact clicks? Which menus do you open? What fields need to be filled? Jot these down. This gives you a clear mental map of the tour you're about to build.
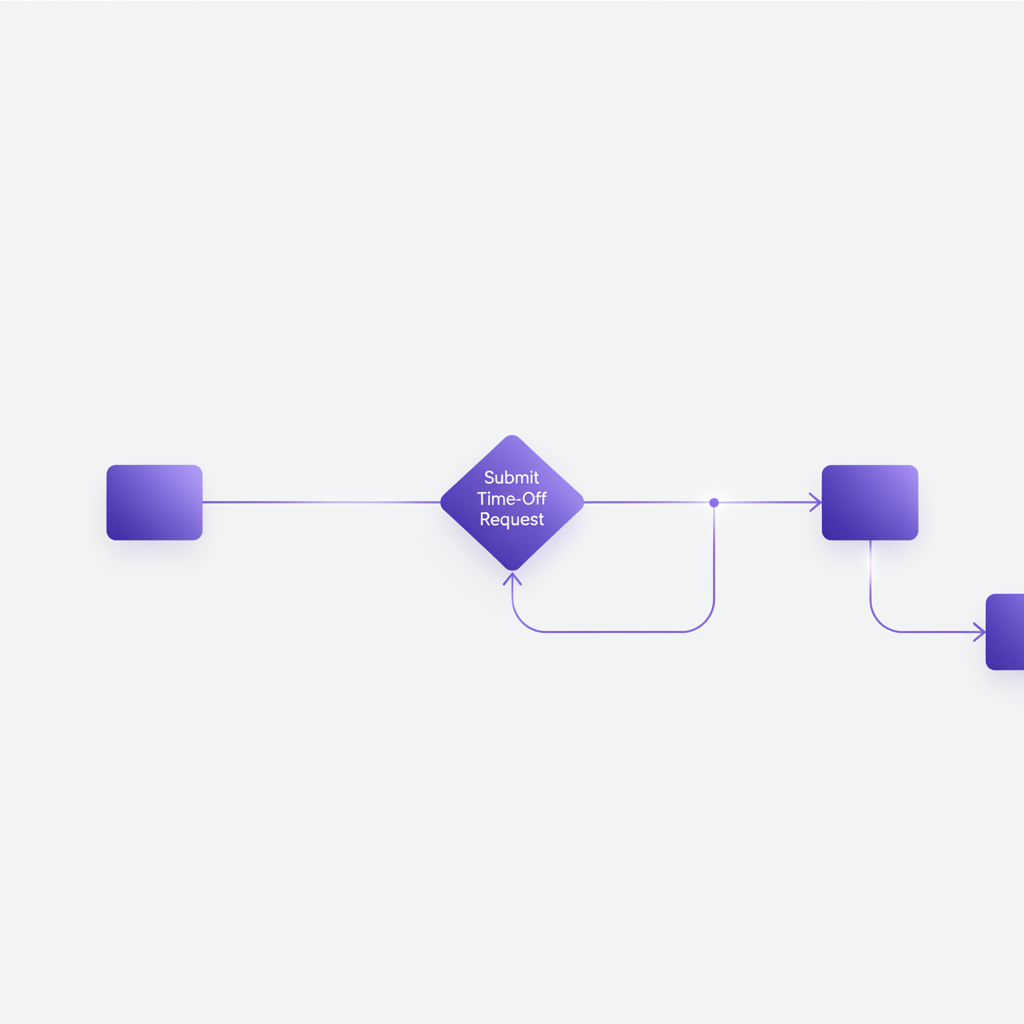
For most NetSuite instances, you'll go something like: Home Dashboard > Activities > Schedule an Event/New Time-Off Request > Fill Form > Submit.
Step 2: Install DoBeacon and Map the Flow
First, if you haven't already, install the DoBeacon Chrome Extension. Now, open NetSuite and navigate to the starting point of your time-off request process (likely your Home Dashboard).
Activate the DoBeacon editor from your Chrome Extension bar. A drawer slides in from the right. Now, click “Build tour.” As you click elements in NetSuite, DoBeacon will automatically detect them and allow you to add a step. Click the menu item for "Activities," then the sub-menu for "New Time-Off Request."
Step 3: Craft Your Tour Steps with Precision
This is where the magic happens. For each step you record, write clear, concise instructions. Remember, your goal is to make the user do the action, not just read about it.
- Step 1: "Welcome to NetSuite! Let's submit your first time-off request. Click 'Activities' in the main navigation bar to get started." (Target: 'Activities' menu item)
- Step 2: "From the dropdown, select 'New Time-Off Request'. This will take you to the form." (Target: 'New Time-Off Request' sub-menu item)
- Step 3: "Here's the Time-Off Request form. First, choose your 'Type of Request' – usually Vacation, Sick Leave, or Personal Day. Click the dropdown to see options." (Target: 'Type of Request' dropdown field)
- Step 4: "Now, enter the 'Start Date' and 'End Date' for your time off. Make sure these dates are accurate!" (Target: 'Start Date' field)
Keep going until you reach the submission button. I always add a final step like, "Great job! You've successfully submitted your time-off request. You can review its status in your Activity Log anytime." Don't forget to include a specific call-out if there are any NetSuite-specific quirks, like requiring a supervisor's email or a specific approval workflow. NetSuite’s element IDs can sometimes be dynamic, but DoBeacon is built to handle this gracefully, targeting elements based on multiple attributes to ensure stability.
Step 4: Branching and Context (Advanced Tip)
Sometimes, not every employee needs the exact same path. What if managers have a different approval flow, or certain roles see different options? To address these variations, you can create separate tours tailored for different user groups or roles. DoBeacon allows you to assign these tours based on groups you define, ensuring each employee gets the guidance relevant to their role.
For example, you could also add an informational step like, "If you are a manager, you might also see an 'Approve Time-Off' link here. For now, we're just requesting!" This acknowledges potential variations without forcing everyone through an irrelevant path.
Step 5: Testing and Iteration
Building a tour isn't a one-and-done deal. Once you’ve drafted it, test it thoroughly. Better yet, get a real new hire, or someone unfamiliar with NetSuite, to try it out. Watch them. Where do they hesitate? Where do they click incorrectly? These are your opportunities to refine the steps, clarify the text, or even add an extra step if a concept needs more explanation. My personal preference is to make tours slightly over-explanatory at first, then pare them back based on user feedback. It’s easier to remove friction than to add clarity after the fact.
Beyond Onboarding: Other NetSuite Use Cases
Once you’ve mastered onboarding, you’ll find DoBeacon invaluable for other NetSuite scenarios:
- New Feature Rollouts: When NetSuite updates, guide users through new functionalities.
- Annual Policy Changes: Update employees on how to submit new compliance forms or updated expense reports.
- Complex Workflows: Break down multi-step processes like generating specific financial reports or managing inventory adjustments.
- Troubleshooting: Guide users through self-service fixes for common issues.
DoBeacon makes NetSuite, a complex but essential tool, accessible to everyone, reducing friction and maximizing productivity. It's a small investment with a huge return on employee experience and team efficiency.
Ready to transform your NetSuite onboarding? Build your first tour for free at https://dobeacon.com/signup