So, you're building a new feature, or perhaps revamping an existing one, and you know users are going to need a little guidance to get started. You could throw up a `<div>` with a `position: absolute` tooltip, but you've got features to build, not a tour engine to maintain. That's where Beacon's SDK comes in: a purpose-built tool to deliver interactive, multi-step onboarding right inside your web application.

I've been there, wrangling custom `intro.js` implementations or trying to make `shepherd.js` play nicely with a constantly evolving UI. It's a time sink. What we want is simple: a way to trigger rich, interactive tours based on user state, without bloating our frontend with tour management logic. Beacon gives us that control.

## Getting the Beacon SDK into Your Project

First things first, you need the SDK. You've got options, depending on your setup. Most modern frontend projects will pull it in via npm:

```bash
npm install @beacon/sdk
// or
yarn add @beacon/sdk
```

If you're working with a more traditional setup, or maybe just want to get up and running quickly for a proof-of-concept, a CDN script tag works perfectly fine. Place it just before your closing `</body>` tag:

```html
<script src="https://cdn.dobeacon.com/sdk/beacon.min.js"></script>
```

For those of you managing scripts via Google Tag Manager, you can add it as a custom HTML tag, ensuring it fires on all relevant pages. The key is that `Beacon` becomes available globally.

## Initializing Beacon and Identifying Your Users

Once the SDK is loaded, you need to initialize it with your unique project key. You'll find this in your Beacon dashboard under Project Settings (it typically looks like `pk_live_****************`). I usually put this call as early as possible in my application's lifecycle, after the SDK script has loaded but before any user-specific data is available.

```javascript
import Beacon from '@beacon/sdk'; // if using npm/yarn

Beacon.init({
  projectKey: 'YOUR_BEACON_PROJECT_KEY'
});
```

This `init` call is foundational. Without it, Beacon doesn't know *which* project's tours to load. Think of it as telling Beacon where to hang its hat.

Next, and arguably one of the most powerful features for personalization and analytics, is user identification. The `Beacon.identify()` method links activity back to a specific user in your system. This is crucial for tracking individual progress, re-engaging users who dropped off, and running internal staff training. Don't skip it. I recommend calling `identify` as soon as you know who the user is, typically after they've logged in.

```javascript
Beacon.identify(currentUser.id, {
  name: currentUser.name,
  email: currentUser.email,
  plan: currentUser.subscriptionPlan,
  // ... any other custom properties you want to track
});
```


Passing in custom properties like `plan` or `role` lets you target tours to specific user segments directly from the Beacon dashboard. Want to show a different onboarding flow to 'Admin' users vs. 'Editor' users? Just pass that role in, and configure your tour targeting in Beacon – no code changes needed for the tour logic itself, which is a massive win for agility.

## Building Your First Tour in the Dashboard

While this post focuses on the SDK, it's worth a quick mention: the tours themselves are built visually in the Beacon dashboard or via the Chrome Extension. You'll define the steps (tooltips, modals, autofills, clicks, navigations, etc.), their content, and which elements they target. Give your tour a clear, memorable name. For an onboarding flow, something like "First-Time User Setup" or "Dashboard Intro" is perfect. Beacon will automatically assign it a unique ID (`tour_****************`).

## Triggering Your Multi-Step Onboarding Flow

This is where the SDK really shines. You can programmatically start any tour based on your application's logic. The most common scenario for onboarding is to trigger a tour when a new user lands on a specific page, but only *once*.

```javascript
const onboardingTourId = 'tour_YOUR_ONBOARDING_TOUR_ID'; // Get this from your Beacon dashboard

// Somewhere in your component/page initialization logic:
if (Beacon.hasCompleted(onboardingTourId) === false) {
  Beacon.startTour(onboardingTourId);
}
```

This `Beacon.hasCompleted()` check is your best friend. It prevents the tour from replaying unnecessarily, giving users a much better experience. For more complex onboarding flows, you might string together multiple tours into a 'course' experience. For instance:

1. **"Welcome to the Dashboard" (tour_1)**: Introduces the main UI elements.
2. **"Creating Your First Project" (tour_2)**: Walks through creating a new project.
3. **"Inviting Your Team" (tour_3)**: Guides on adding collaborators.

You can trigger these sequentially:

```javascript
const tourIds = {
  dashboardIntro: 'tour_dashboard_intro',
  createProject: 'tour_create_project',
  inviteTeam: 'tour_invite_team'
};

if (!Beacon.hasCompleted(tourIds.dashboardIntro)) {
  Beacon.startTour(tourIds.dashboardIntro);
} else if (!Beacon.hasCompleted(tourIds.createProject)) {
  // Only start this if the first is done
  Beacon.startTour(tourIds.createProject);
} else if (!Beacon.hasCompleted(tourIds.inviteTeam)) {
  // Only start this if the second is done
  Beacon.startTour(tourIds.inviteTeam);
}
// ... and so on for more tours
```

This pattern allows you to define flexible, multi-stage onboarding directly within your application's state management, while Beacon handles the delivery and tracking of each individual tour. It's much more robust than trying to manage complex `localStorage` flags yourself, and you get completion data in your dashboard automatically.


## Resetting Tour Progress (For Testing or Re-Onboarding)

During development, you'll constantly want to replay tours. Beacon provides `Beacon.reset(tourId)` and `Beacon.resetAll()` for this. I often wire up a small development-only button or a console command to `Beacon.resetAll()` so I can quickly test the first-time experience.

For production, `reset` can be useful if you've significantly updated a tour and want to re-onboard a segment of users, or if a user explicitly requests to see a tour again.

## Analytics and Integrations

Every tour view, completion, and step drop-off is tracked automatically in your Beacon dashboard. When you use `Beacon.identify()`, all this data is tied back to that specific user, giving you a crystal-clear view of their onboarding journey.

For custom analytics integrations, Beacon also emits standard DOM events for various tour lifecycle stages (like `beacon:tour:start` or `beacon:tour:complete`). You can listen for these to trigger your own analytics events in tools like Amplitude, Mixpanel, or Google Analytics.

## The Product-Led Advantage

By integrating Beacon's SDK, you're not just adding a tour tool; you're adopting a product-led approach to user education. You retain full programmatic control over *when* tours appear, but you offload the complex, visual authoring and maintenance to a dedicated platform. This frees up your development team to focus on core product features, while product managers and designers can iterate on onboarding flows without needing code deployments.

Ready to elevate your app's onboarding? It's time to build your first tour.

Get started with Beacon for free at <https://dobeacon.com/signup>.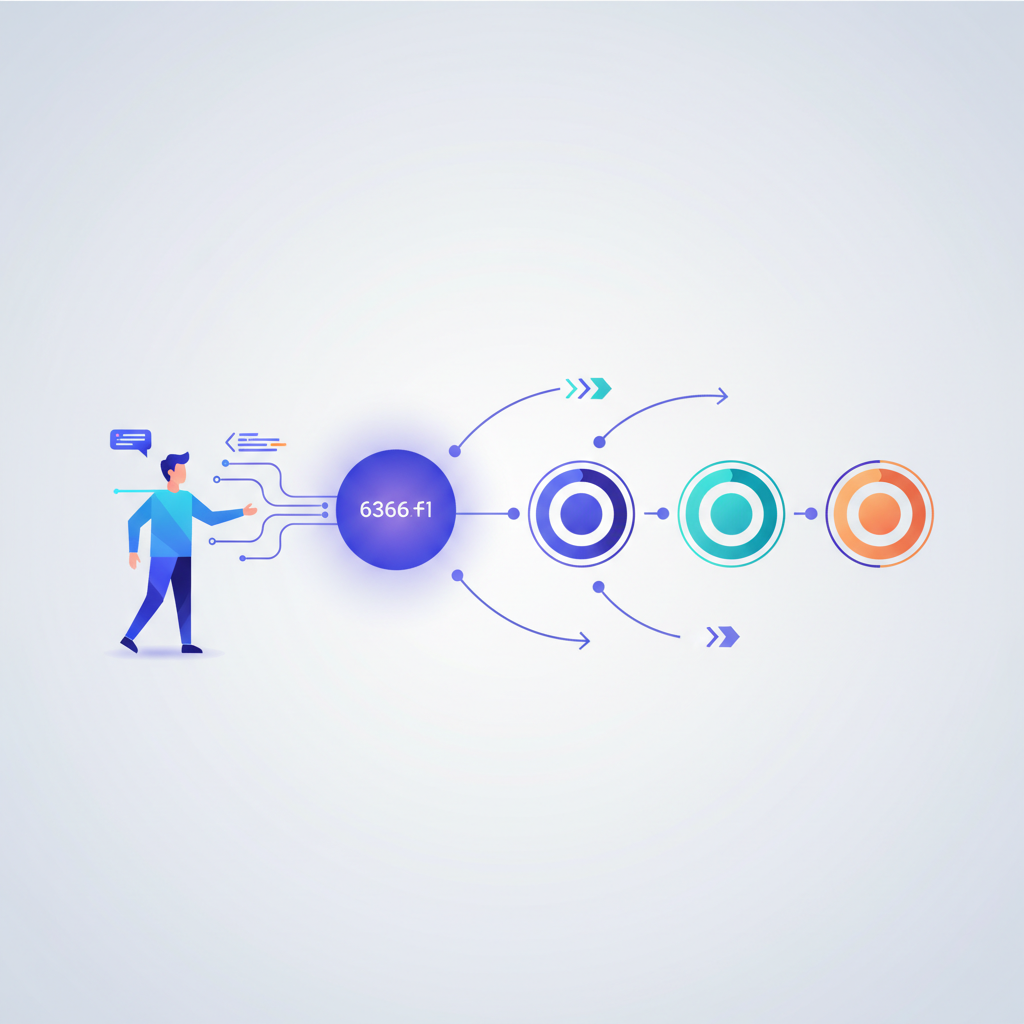
SDKOnboardingProduct ToursWeb DevelopmentJavaScript
SDK Deep Dive: Crafting Seamless Onboarding Flows with Beacon
Integrating product tours directly into your web application is straightforward with Beacon's SDK. This guide walks developers through setting up the SDK, identifying users, and triggering multi-step onboarding flows programmatically.
Engineering Team·
Try DoBeacon free
Add guided tours to any website in under 5 minutes. No annual contract, no per-MAU pricing.
Get started free →